

Darren Groves
-
Posts
791 -
Joined
-
Last visited
-
Days Won
20
Content Type
Profiles
Forums
Blogs
Gallery
Downloads
Store
Events
Posts posted by Darren Groves
-
-
I'm not sure if you can, but if you could find out the test location by the last MoT Test Number at least you'd know what area it's in. Looks as if it was taken off the road due to rot given the most recent advisories...

-
I had the same issue on my Herald, I tried 2 different caps, then bought a new seal and replaced the original, it still leaked, so I ended up putting both the old & new on together and that finally done the trick.
Darren
-
10 hours ago, clive said:
If you use an OD box from a spit 1-3 it will be a 3 synchro box exactly as you have, and a vitesse 1600 prop is a near enough ideal fit. Or 2 litre vitesse prop with a change of flanges
I tried this on my 13/60, it did fit but it was damn tight even with the engine as far forward as it would go. Ended up getting one made by Dave Mac Props with a sliding joint, cost around £130 and well worth it.
Darren
-
12 hours ago, Barry Kemp said:
So, I took the shaft to my local garage to remove the bearing. They couldn't get the bearing off but bent the flange! My next trip was to a private address with a good old fashioned engineer . He got the bearing off with his big press but the bearing shattered. Fortunately he managed to flatten the bent flange on his press - so that saved me a bit of money. The oil seal behind the bearing was made of leather...it reminded me of just how old the car is! I'm guessing the new bearing won't go back on without using a press?
Can't wait to do the other side!
I still love the old girl though!
When doing the other side, add some heat when it's under pressure on the press, it should let go without bending the flange.
Darren
-
If you have access to a press then getting the bearing off is pretty easy, just a few minutes either side. I'm sure a local garage would do it for little money if you don't know someone who has one.
If you are replacing the circlips, beware if you have ordered them from a certain supplier in Lincoln as they were too big and just dropped into place:
Darren
-
Can't take any credit for the quality and detail of the refit, that was all Trevor's hard work, we delivered it back as a fully painted and assembled shell.
Anyone wanting to see the whole rebuild in photos, they can be seen here: https://photos.app.goo.gl/3USKgJTuxkOHmcGj1 the car had been off the road for around 15 years when we got it.
Darren
-
I've just completely rewired my Herald and eliminated all bar 1 or 2 bullet connectors, in the main I used some mini connectors bought from eBay: http://r.ebay.com/u2v6Kc available in a variety of sizes, well priced, but quality very good.
Darren


-
That Estate belongs to Trevor Collett the TSSC Specials Secretary. We restored it down in Devon for him over a few years and was back on the road last May, it was his first ever car. This is how it arrived:


-
They offered a refund, though I haven't checked yet to see if it's come through. Wasn't really about the money as it was pennies, but more that they should take their remaining stock out of circulation so someone doesn't unwittingly fit one thinking it's OK.
I bought a Crankshaft Woodruff key from them last year and that was too wide, I told them and they refunded said they'd check their stock. To be fair to them I reordered a couple of months later and the replacement was fine.
Bearings came off pretty easy with a press and a little heat.
Darren
-
6 hours ago, Colin Lindsay said:
One very personal observation to Dave - do not... please... buy those terrible AngelEyes headlamps with the illuminated ring around the rim. I know of a very early Landrover that has them fitted and it just spoils the whole old-vehicle experience. Personal choice of course but I think they're dire on anything other than a Chav BMW...
")
There was a Spitfire 1500 with those fitted at Powderham last year, actually thought they looked OK....


-
17 hours ago, clive said:
3. Used "crystal" headlights, not to everybodies taste, but they are good.
I went through the same process as most....halogen conversion, then relays, then better bulbs, all helped but the biggest step up in light output was fitting Crystal Headlights. Like Clive says they don't look original, so some won't like them, but I do drive the car at night and I'd rather see where I was going than worry about originality. The advantage of these also is that they are all plastic, so won't rust like the original Halogen Conversion kit I fitted did.
Darren
-
I used Bosch 0280155884 fuel injectors on my Herald, used on many Rovers, widely available and cheap to buy...I don’t think I paid any more than £7.00 each for any of them.
When trying to find the flow rate, I did find various answers, but settled on the one in the attached image.
Darren

-
Just replaced the seals & bearings on the output shafts of my diff, bought 2 new bearing circlips from a well known trader in Lincoln, only for them to be too big so just fall into the groove and could easily be picked out again with your finger nail.
The new one is the top one in the photo, inner & outer diameter fair bit bigger than the original.So anyone doing this job, please be sure your replacement circlips fits correctly.
Darren

-
2 hours ago, Pete Lewis said:
darren posted a link to using the orig bellows to prime a washing machine water level switch to fire the electric pump up
in his winter project to rewire the herald.
novel idea , supoosed to be in a courier soon ( or past ) then you can reuse the orig pump .
The post is below.
Just blank off the suck side of the bellow switch, the blow side goes to the pressure switch. Run an ignition feed through the 2 centre lucar connectors on the pressure switch to the pump.....works a treat.
The full article is with Bern, written by another Devon member it includes using a relay from a Fiesta to add intermittent wipers and a wash/wipe in a single action as well.
Darren
-
 1
1
-
-
Not that it really helps, but this image popped up in a Google search:
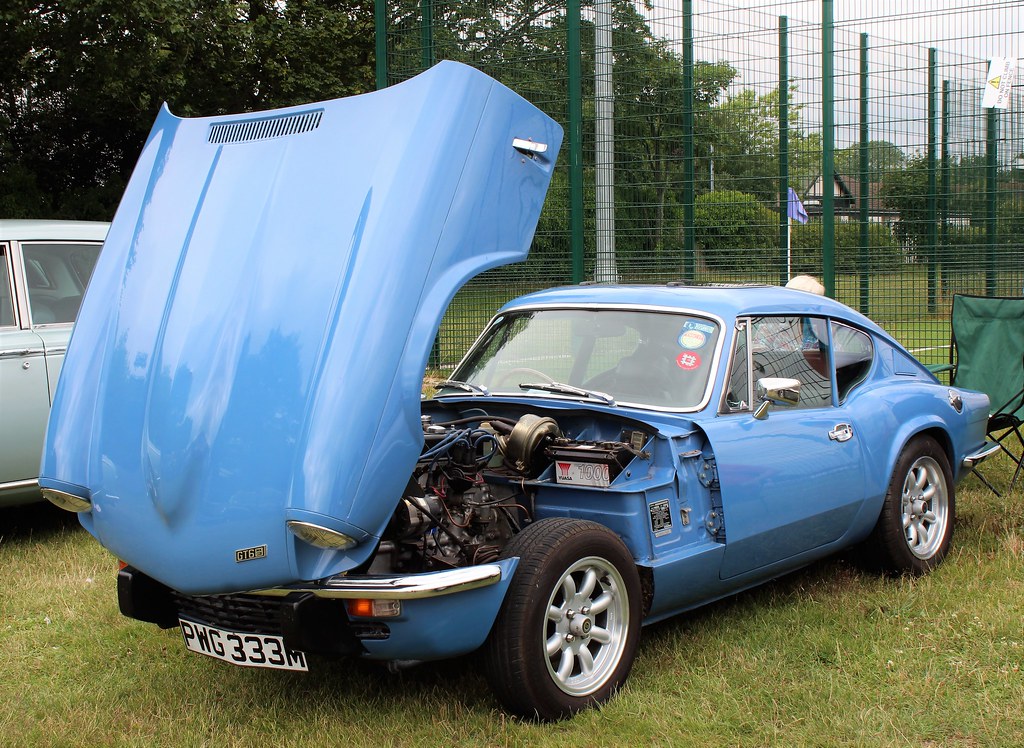
The car has the TSSC 17 Tax Disc on the windscreen so is a current or at least very recent member.
This was at a show at Kirkley & Pakefield Football Club, no idea when but might give an indication it's in East Anglia. Could be worth checking with the local areas, you can get their details from here: http://www.tssc.org.uk/tssc/areas_google.asp or as already suggested, Andy Cook may know of the car.
Good luck.
Darren
-
I wasn’t going to use this method, just thought it was an interesting trick.
I have always used a 3/8 drive extension bar, fits snuggly in the spigot and then just align the plate by eye and they always seem to drop in fine. The only time I used a the proper alignment tool the bugger wouldn’t go in, so then re-done with the bar and all way fine.
Darren
-
I'm not losing any travel up at the M/C, but the push rod on the release arm was a bit slack (see below). Not sure if this will make much difference but I may as well replace it whilst it's apart.

I was chatting to a guy yesterday about clutches, he was telling me his trick for centralising the friction plate. With the pressure plate on the bench face up, he puts 2 or 3 small spots of super glue on it, then puts the friction plate on top, centralises it by just feeling the edges around the mating surfaces and lets the glue set. He then fits the 2 parts of the clutch to the flywheel, does away with clutch alignment issues. He claims that every gearbox he's fitted this way has gone straight in and the small amounts of glue used make no difference to the operation and soon wears off.
Genius idea?
Darren
-
1
-
-
On 12/11/2017 at 7:23 PM, Pete Lewis said:
Clutch judder ...is the engine back plate nice and flat, not distorted by many on's and offs
As for lining marks
wont open this silly tablet And laptops out in the cold
Pete
Thanks Pete, interesting reading.
2 hours ago, Colin Lindsay said:That top one looks badly glazed... has it been slipping?
No slip, just judder.
--0--
I think I may have found the issue as there is play in the release bearing, I can make it rock a fair bit on the carrier. I have a new one on the shelf so can compare and it's quite noticeable, pretty poor given it has only done 3-4k miles. So do I fit the 'new' friction plate that's looking a bit glazed or go back to the older one or try and pick-up a NOS kit.Apart from the judder, both this clutch and the previous one has had the biting point fairly close to the floor, closer than you'd expect. Bearing thickness is the correct 19mm, any other causes of this?
Darren
-
As the dashboard & seats were out of the car, I thought I may as well whip out the gearbox to see if I could work out what was causing the clutch judder I've been suffering since my engine swap earlier this year. At the time I fitted a new B&B Clutch purchased from the club shop.
So the top 2 photos are either side of the 'new' clutch, the bottom 2 are of the one that was in before and was fine IIRC.
Does the wear pattern on the friction plate give any clues? Does the band on the outer edge indicate it's only making partial contact with the flywheel? The wear pattern on the previous friction plate is even.
The Flywheel was skimmed a few years ago and looks in good shape.
Darren


-
So the final bit of this electrical job and that was to get the heated seat pads in. It was easier than I thought and probably easier again if you still have Herald seats fitted.
Cable ties make a good alternative to the hog rings, certainly easier to fit.
Darren


-
 1
1
-
1
-
-
I started the last thread on this, the conclusion was that you have to login to the main TSSC website at tssc.org.uk, then follow the link for the club shop in the top left corner.
Seems there's not an option to log in to the club shop directly.
Darren
-
So that's the rewire pretty much done, amazingly for me everything worked first time
. I did have a few confused moments at the end of last week as every time I used my flashers, hazards or turned the lights on various items linked to the EFI ECU kept pulsing. Turned out that even though I thought all the earths were good, they weren't, so a bit of a rethink on routing of earth cables and that was sorted.,
There's still a lot going on behind the dash, but at least it's now tidy.
Darren

-
3 hours ago, Paul H said:
I should have added my Vitesse seats are now MGF leather seats, not sure how difficult it would be to fit to original seats
Paul
Paul,
I’m just about to do the same to my MGF seats, if you get there before me let us know how to get on.
Darren
-
4 hours ago, Pete Lewis said:
darren while youre under there its worth a check on the wiper tubes are tight and well greased wheel boxes
Good thinking - I have some new wiper tube on it's way already.
Darren


Air bubbles in brake master cylinder
in Braking System
Posted
I agree....i always find rebuild kits to be a bit short-lived.